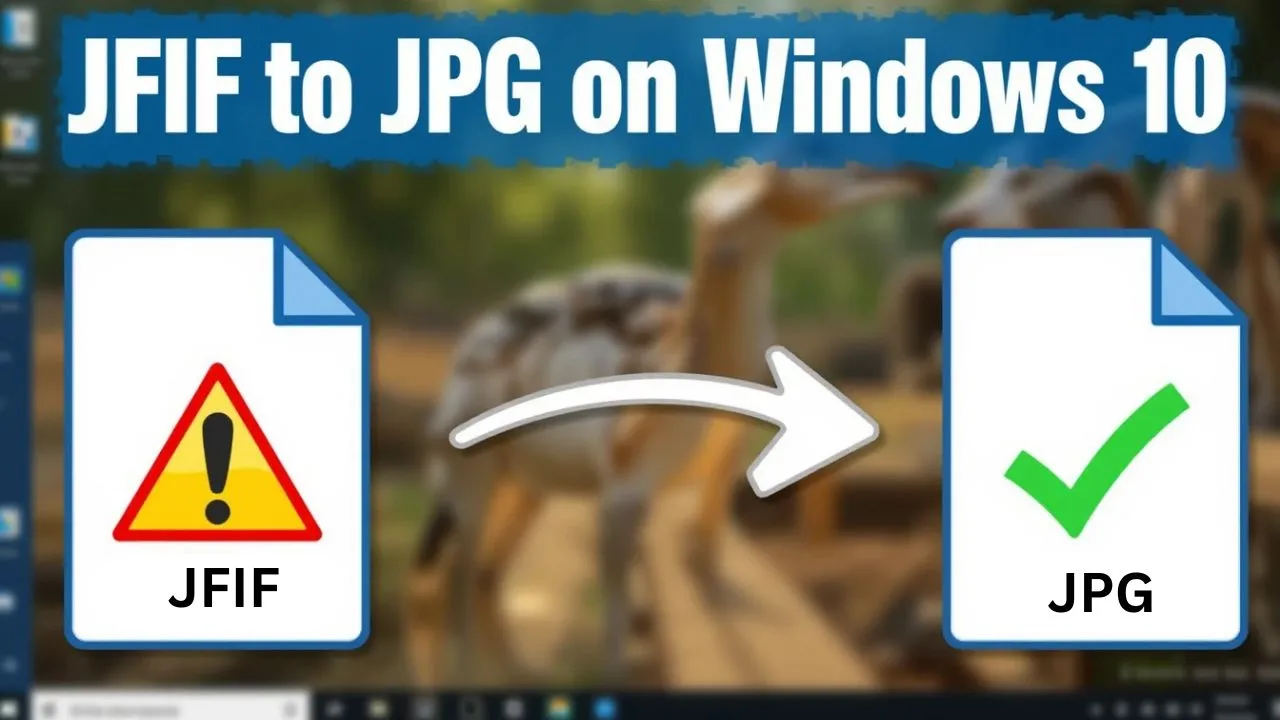
How to Convert JFIF to JPG on Windows 10: A Complete Guide
Published on June 5, 2025
If you've ever downloaded an image from a web browser or got one from a messaging app and found out it’s in the JFIF format, you’re not the only one. A lot of Windows 10 users face issues when dealing with JFIF files and usually need to change them to the more popular JPG format so they can use them with photo editing software, upload them online or print them out.
This guide will help you learn how to convert JFIF to JPG on Windows 10 using tools that come with your computer and some other software. We’ll also talk about why this conversion is important, what mistakes to watch out for and how to keep the image quality high during the whole process.
What Is a JFIF File?
JFIF means JPEG File Interchange Format. It’s a type of the regular JPEG format made for better compatibility and smaller storage. Even though JFIF and JPG are very similar since they both use JPEG compression their file headers are a bit different. This can lead to problems with some Windows 10 apps, image editing software and online sites.
Why You Might See JFIF Files on Windows 10
Usually, the latest versions of Windows 10 save pictures from web browsers (like Chrome) as JFIF files instead of JPG. This happens because of how Windows links image MIME types (like image/jpeg) to their default file endings.
Sadly, a lot of applications don’t understand or work with JFIF so you have to convert the files.
Why Convert JFIF to JPG on Windows 10?
Here are some important reasons why you might need to change a JFIF file to JPG on Windows 10:
-
Software Compatibility: A lot of photo editing programs, email services and websites only work with JPG files.
-
Avoid Errors: JFIF files might not open in older applications like Paint.NET or on some social media sites.
-
Workflow Consistency: Using JPG files helps everyone work together better and keeps things organized.
-
Better Naming and Extension Handling: Some people might not even know that JFIF is a type of image file.
If you keep running into compatibility problems, learning how to convert JFIF to JPG on Windows 10 will help you save time and avoid frustration in your everyday digital tasks.
Method 1: Change the Default File Extension Behavior in Windows 10
You can prevent Windows 10 from saving images as JFIF right from the start. Here’s how to set it back to JPG as the default format.|
Step-by-Step Instructions
-
Press Windows + R to open the Run dialog.
-
Type regedit and press Enter button to open the Registry Editor.
Navigate to the following path:
HKEY_CLASSES_ROOT\MIME\Database\Content Type\image/jpeg
-
In the right panel double-click the Extension key.
-
Change the value from .jfif to .jpg.
-
Click OK and restart your PC.
Caution: Take care when you edit the Windows registry. Making wrong changes can change how your system works. Always make a backup of your registry before you make any changes.
After you restart, pictures saved from browsers should now automatically be in JPG format. This stops the need to convert JFIF to JPG on Windows 10 in the future.
Method 2: Convert JFIF to JPG Using Paint (Built-in App)
Microsoft Paint is able to open JFIF files and save them as JPGs without needing any additional software.
Steps to Convert:
-
Right-click your JFIF file and select Open with > Paint.
-
Once the image opens, go to File > Save As > JPEG picture.
-
Choose your destination and filename, then click Save.
Tip: This method is great for quick one-by-one conversions when you don't need to do a lot at once or use fancy settings.
Method 3: Use Photos App for Quick Conversion
The Windows Photos app can open JFIF images and with a little trick you can save them as JPG.
Instructions:
-
To open the JFIF file in the photos app just double-click on it to see it in Photos.
-
Then, hit Ctrl + P or click on the Print icon.
-
In the print window, choose Microsoft Print to PDF or OneNote and print the picture.
-
After that open the PDF or OneNote file and save the image as a JPEG using Paint or the Snipping Tool.
Note: This method could slightly reduce the image quality due to the conversion process. However, it's really effective for quick viewing and speedy exports.
Method 4: Convert JFIF to JPG on Windows 10 Using Online Tools
There are several online converters that can quickly convert JFIF to JPG on Windows 10, especially when dealing with multiple images.
How to Use:
-
Visit the JFIF to JPG site.
-
Upload your JFIF file(s).
-
Choose JPG as the output format.
-
Click Convert and then download the result.
Best For: Batch conversion and no installation required.
Privacy Tip: Don’t upload sensitive or private images to online tools, use offline methods instead.
Tips for Managing Image Formats on Windows 10
-
Sort your files by type or by project folders so you don’t get mixed up.
-
Only rename file extensions if you really know the format, switching .jfif to .jpg doesn’t change the file itself it just changes the name.
-
Always keep copies of the original files before you do a lot of conversions or changes.
-
If you’re going to convert files often use lossless editors.
Final Thoughts
Changing JFIF to JPG on Windows 10 doesn’t need to be complicated. You can use built-in programs like Paint, adjust system settings to stop JFIF files from showing up or try out strong tools like online converters. There’s a way to do it that fits everyone’s needs and skills.
With this guide, you now have the skills and confidence to handle your image formats better and you can skip the annoyance of trying to open a file that doesn’t work.